 Docs99
Nginx 文件設置方法
基礎操作
對於基礎知識與基本操作不了解,可以到 Nginx 基礎操作
靜態網頁服務 http > server
可以使用這個方法,快速的啟動一個「靜態」的網頁服務器。
1️⃣ 在指定位置,新增一個 index.html 檔案,當作是服務入口的頁面。
Demo
html
<!DOCTYPE html>
<html lang="en">
<head>
  <meta charset="UTF-8">
  <meta http-equiv="X-UA-Compatible" content="IE=edge">
  <meta name="viewport" content="width=device-width, initial-scale=1.0">
  <title>NGINX</title>
</head>
<body>
  <h1>NGINX</h1>
  <p>這是 nginx 的頁面</p>
</body>
</html>
2️⃣ 設置 nginx 服務 nginx.conf
nginx
http {
  # 啟動服務
  server {
    # localhost 要監聽的埠號
    listen 8080;
    # 監聽埠號提供的入口頁面 (根目錄)
    root /Users/1c00003/Desktop/nginx-demo;
  }
}

events {}
3️⃣ 重啟 nginx 服務
bash
nginx -s reload
4️⃣ 輸入 localhost:8080 看到服務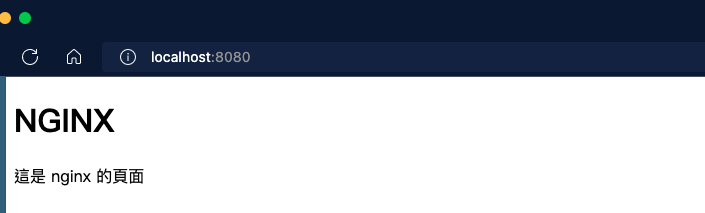
檔案類型定義 http > types
承上 (啟動了「靜態」網頁服務),在 html 引入了 css 樣式 <link rel="stylesheet" href="./main.css">,重新啟動 nginx 後,樣式還是沒有改變。
main.css
css
h1 {
  color: red;
}
html
html
<!DOCTYPE html>
<html lang="en">
<head>
  <meta charset="UTF-8">
  <meta http-equiv="X-UA-Compatible" content="IE=edge">
  <meta name="viewport" content="width=device-width, initial-scale=1.0">
  <link rel="stylesheet" href="./main.css">
  <title>NGINX</title>
</head>
<body>
  <h1>NGINX</h1>
  <p>這是 nginx 的頁面</p>
</body>
</html>
樣式無改變 (圖)
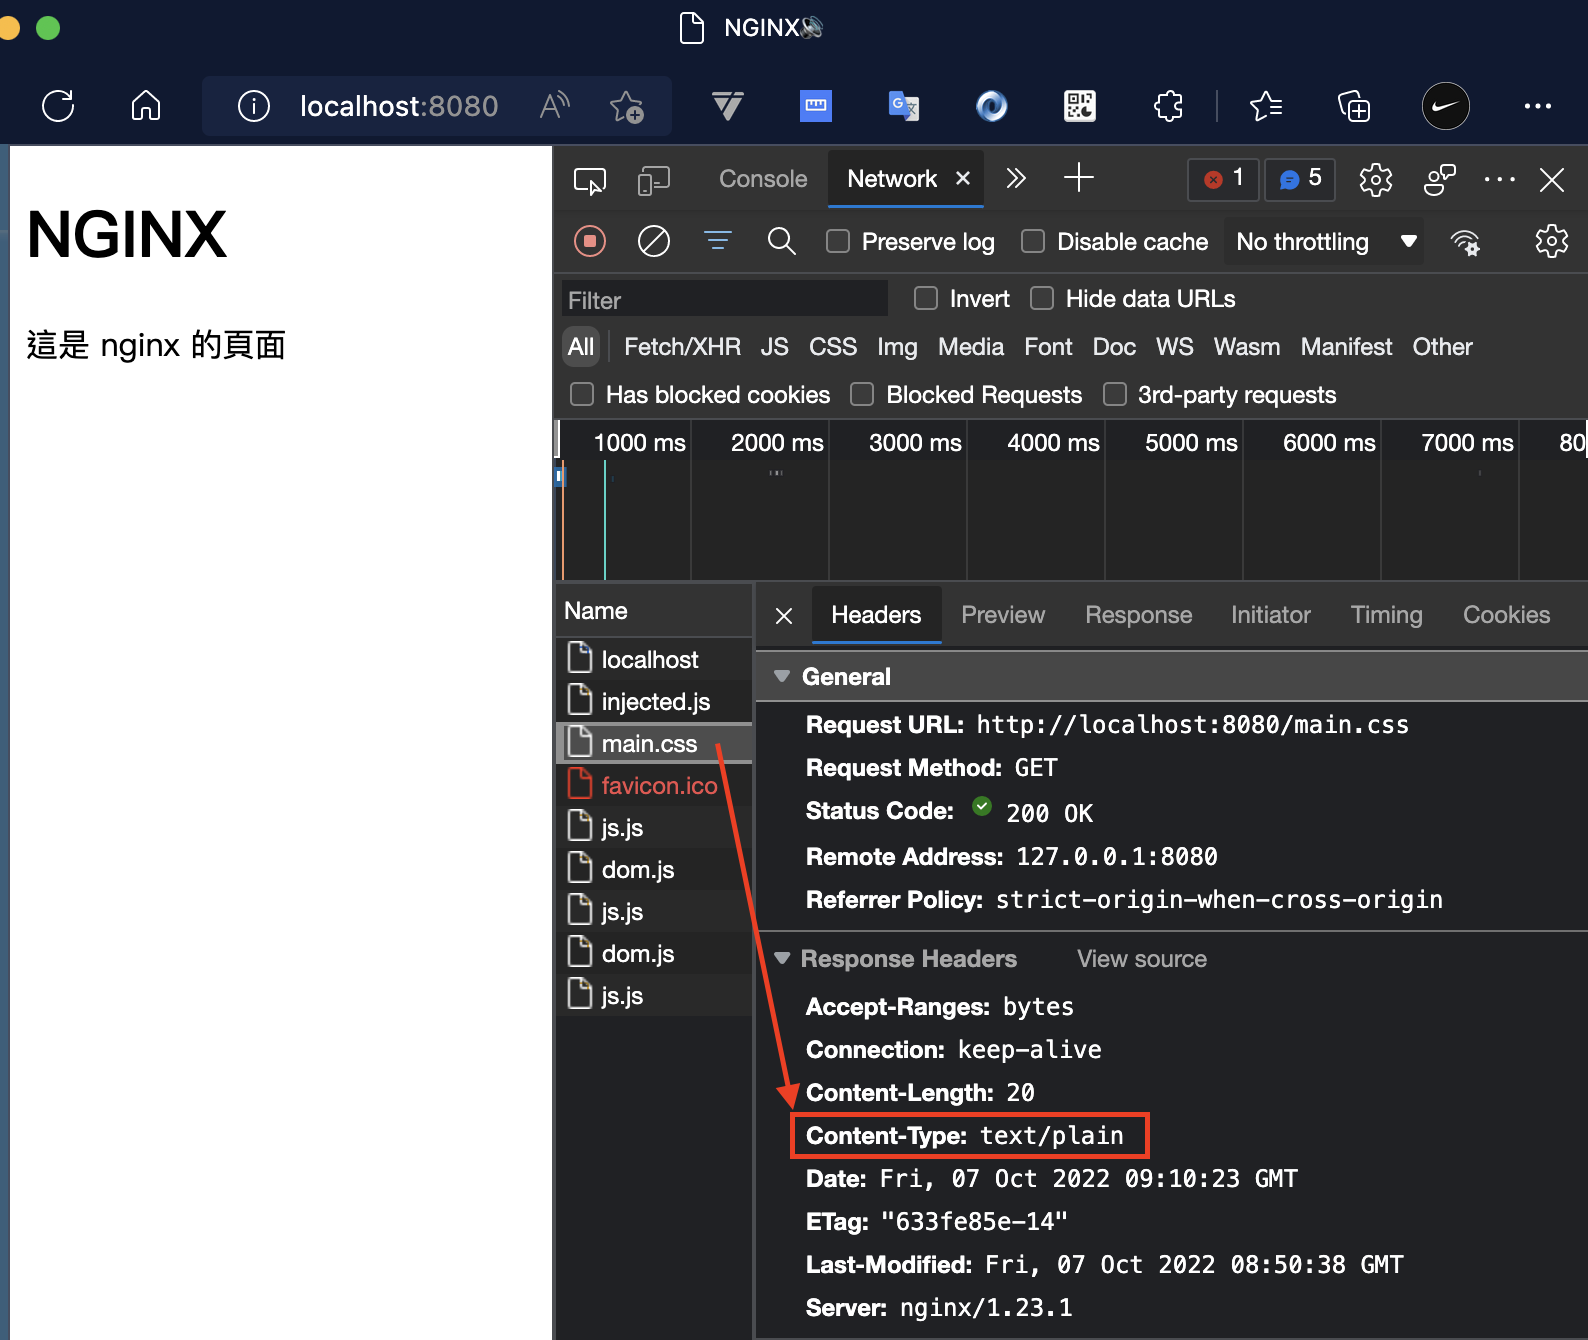
原因
如下圖所示 main.css 被辨別為 text/plain 文字檔,它應該被識別為 text/css 檔案,樣式才能正常被顯示。
被識別為 text/plain (圖)
解決方式 1️⃣
在 http 底下,設置 types { ... },來指定識別的檔案類型,這樣樣式就可以恢復正常了。
Demo
nginx
http {
  types {
    text/css  css;  # 當檔為 .css 識別為 text/css
    text/html html; # 當檔為 .html 識別為 text/html
  }

  server {
    # localhost 要監聽的埠號
    listen 8080;
    # 監聽埠號提供的入口頁面 (根目錄)
    root /Users/1c00003/Desktop/nginx-demo;
  }
}

events {}
樣式成功被識別

解決方式 2️⃣ (最佳)
在 nginx 目錄下 mime.types 就是所有檔案的識別定義,但你不可能一個一個加入 types { … },更有效率的作法是加入 include mime.types; 來引入所有檔案的識別。
Demo
nginx
http {
  # 載入所有的樣式識別
  include mime.types;

  server {
    # localhost 要監聽的埠號
    listen 8080;
    # 監聽埠號提供的入口頁面 (根目錄)
    root /Users/1c00003/Desktop/nginx-demo;
  }
}

events {}
路由設置 server > location
在 server 底下,設置 location { ... },來指向路由指定顯示的檔案。
路由設置
當 url 為 localhost:1111/about 時,想要顯示 /Users/1c00003/Desktop/nginx-demo/about 的 index.html,可以這樣設置。
nginx
http {
  include mime.types;
  server {
    listen 1111;
    root /Users/1c00003/Desktop/nginx-demo;

    # 路由設置
    location /about {
      # 根目錄位置
      root /Users/1c00003/Desktop/nginx-demo;
    }
  }
}
TIP
會依照 location 設置的路由,自動加上 /about 在 root 設置上不需另加上。
默認檔案名都是 index.html 故不需要特別寫。
別名路由設置
假設 /alias-page 頁面,也想與 /about 顯示同一個頁面,可以使用 alias 設置檔案位置,需要加上目錄名稱 /about,系統不會自動加上。
nginx
http {
  server {
    listen 1111;
    root /Users/1c00003/Desktop/nginx-demo;

    # /about 頁面
    location /about {
      root /Users/1c00003/Desktop/nginx-demo;
    }

    # /alias-page 頁面 (別名)
    location /alias-page {
      alias /Users/1c00003/Desktop/nginx-demo/about;
    }
  }
}
路由指向客製化檔案
上面例子,都是使用 index.html 作為指向的默認檔案名稱,若被指向的檔案不為 index.html 就無法順利被使用。可以使用 type_files 來指定要指向的檔名。
root根目錄位置try_files根目錄之下對應的目錄與檔案路徑
nginx
http {
  server {
    listen 1111;
    root /Users/1c00003/Desktop/nginx-demo;

    # 客製化指向檔案名稱
    location /custom-page {
      root /Users/1c00003/Desktop/nginx-demo;
      try_files /custom/CustomPage.html /index.html =500;
    }
  }
}
當匹配 /custom-page 路由時,就會顯示 /Users/1c00003/Desktop/nginx-demo/custom/CustomPage.html 檔案,若 /Users/1c00003/Desktop/nginx-demo/custom/CustomPage.html 失效,就顯示 /Users/1c00003/Desktop/nginx-demo/index.html 檔案,若這個檔案再失效,就顯示 500 錯誤頁面。
注意
try_files 必須設置至少「兩個」檔案路徑,不然會報錯:
bash
nginx: [emerg] invalid number of arguments in "try_files" directive in /usr/local/etc/nginx/nginx.conf:
設置方法
try_files [匹配檔案路徑] [第二匹配檔案路徑] [第三匹配檔案路徑]
也可以使用 =500 =400 來表示預設的 status code 顯示的錯誤頁面。
正規表達式的路由匹配
路由的匹配也可以使用正規表達式,如下,當路由匹配 /test/1 ~ /test/9 時,可以指向特定的檔案。
nginx
http {
  server {
    listen 1111;
    root /Users/1c00003/Desktop/nginx-demo;

    location /test/[1-9] {
      root /Users/1c00003/Desktop/nginx-demo;
      try_files /index.html =404;
    }
  }
}
WARNING
此方法無法使用 alias 設置
路由重定向
當路由需要重新轉址到指定路由時,可以使用此方法 return [狀態碼 307] [導向路由]。
nginx
http {
  server {
    listen 1111;
    root /Users/1c00003/Desktop/nginx-demo;

    location /about {
      root /Users/1c00003/Desktop/nginx-demo;
    }

    # 重定向
    location /redirect {
      return 307 /about;
    }
  }
}
「重定向」與「別名路由」的差別
- 「別名路由」: 不會更改 url,只是指向到同一個檔案。
- 「重定向」: 會更改 url 到指定的路由。
帶參數路由「別名」其它路由
若我們帶 參數 的 url,不想被改變,但想要「別名」別的動態路由,可以這樣用。 /number/1 將顯示 /custom-params/1 的內容,路由參數可以帶過去,且 url 不會被改變。
nginx
http {
  server {
    listen 11111;
    root /Users/1c00003/Desktop/nginx-demo;

    rewrite /number/(\w+) /custom-params/$1;

    # 若符合 /custom-params/0 ~ 9 路由
    location ~* /custom-params/[0-9] {
      root /Users/1c00003/Desktop/nginx-demo;
      try_files /custom-params/index.html index.html =404;
    }
  }
}
Demo
nginx
http {
    # types {
    #     text/css  css;
    #     text/html html;
    # }
    include mime.types;

    server {
        # localhost 要監聽的埠號
        listen 1111;
        # 監聽埠號提供的入口頁面 (根目錄)
        root /Users/1c00003/Desktop/nginx-demo;

        location / {
            rewrite ^/num/(\w+) /custom-params/$1;
        }

        # 路由設置 path 設置 (不用加 page)
        location /about {
            # 頁面根目錄 (子路由 path 會自動加入)
            root /Users/1c00003/Desktop/nginx-demo;
        }

        # 別名路由: 與 /about 顯示一樣的頁面 (要加 path)
        location /alias-page {
            alias /Users/1c00003/Desktop/nginx-demo/about;
        }

        # 客製作路由指定檔名
        location /custom-page {
            root /Users/1c00003/Desktop/nginx-demo;
            # 至少要有兩個路徑
            try_files /custom/CustomPage.html /index.html =500;
        }

        location ~* /custom-params/[1-9] {
            root /Users/1c00003/Desktop/nginx-demo;
            try_files /custom-params/index.html /index.html =404;
        }

        location /redirect {
            return 307 /about;
        }
    }
}

events {}
注意
匹配的路由必須加上 ~*,不然會無法被匹配到。
負載均衡設置 http > upstream
Nginx 可以為服務器提供「負載均衡」,透過演算法分配到不同的「服務器」站台,避免服務過載或服務故障。
假設,生成了 127.0.0.1:3000、127.0.0.1:3001、127.0.0.1:3002 三個服務網址,可以在 upstream 內部寫入多個服務 ip 位置;再透過進入 nginx 服務器 (localhost:1111) 時,分配到 upstream 配置的服務器群們。
upstream配置方法:nginxhttp { upstream 負載均衡名稱 { server server1.example.com; # 服務1 server server2.example.com; # 服務2 server server3.example.com; # 服務3 } }proxy_pass寫入方法:nginxhttp { server { location / { proxy_pass http://負載均衡名稱/; } } }
Demo
nginx
http {
  include mime.types;

  # 負載均衡設置
  upstream backendapp {
    server 127.0.0.1:3000; # 服務1
    server 127.0.0.1:3001; # 服務2
    server 127.0.0.1:3002; # 服務3
  }

  server {
    listen 1111;

    # 進入頁面時 pass 到負載均衡配置 backendapp
    location / {
      proxy_pass http://backendapp/;
    }
  }
}
客製化 domain 名稱
在某些第三方串接時,常常會需要有實際的 domain 才可以進行請求的允許,可以使用這個方法,讓你的 localhost 變成 example.com。
nginx.conf
在 localhost 啟動一個服務,且設置上 server_name。
nginx
http {
  include mime.types;

  upstream backendapp {
    server 127.0.0.1:3000;
    server 127.0.0.1:3001;
    server 127.0.0.1:3002;
  }

  server {
    listen 80;
    server_name test.express.com;

    location / {
      proxy_pass http://backendapp/;
    }
  }
}
修改本地 hosts 名稱
sudo vi /etc/hosts
bash
##
# Host Database
#
# localhost is used to configure the loopback interface
# when the system is booting.  Do not change this entry.
##
127.0.0.1       localhost
127.0.0.1       custom.domain.local
127.0.0.1       test.express.com
255.255.255.255 broadcasthost
::1             localhost
# Added by Docker Desktop
# To allow the same kube context to work on the host and the container:
127.0.0.1 kubernetes.docker.internal
# End of section
~
~
查看客製 domain
在瀏覽器輸入 test.express.com,就會被 hosts 指向到本地端 127.0.0.1,而本地端有由 nginx 提供的 express APP 的服務。這時也可以看到 network 請求的 url 也是 test.express.com 了。

Reference
- [基礎觀念系列] Web Server & Nginx — (1)
- [基礎觀念系列] Web Server & Nginx — (2)
- [Video]Run Multiple Site from one IP with reverse proxy Nginx
- How To host Multiple Sites on Nginx with same Domain (FQDN)
- 淺談 Nginx 基本配置、負載均衡、緩存和反向代理
- [Day 08] Web Server & Nginx — (2)
- Nginx三大模块--事件(Event)模块
- NGINX 官網
- NGINX 官方文件
- NGINX 學習筆記
- Nginx的server_name和location配置
- Day26-好用的網頁伺服器-nginx(二)
- 作为一名前端,该如何理解Nginx?